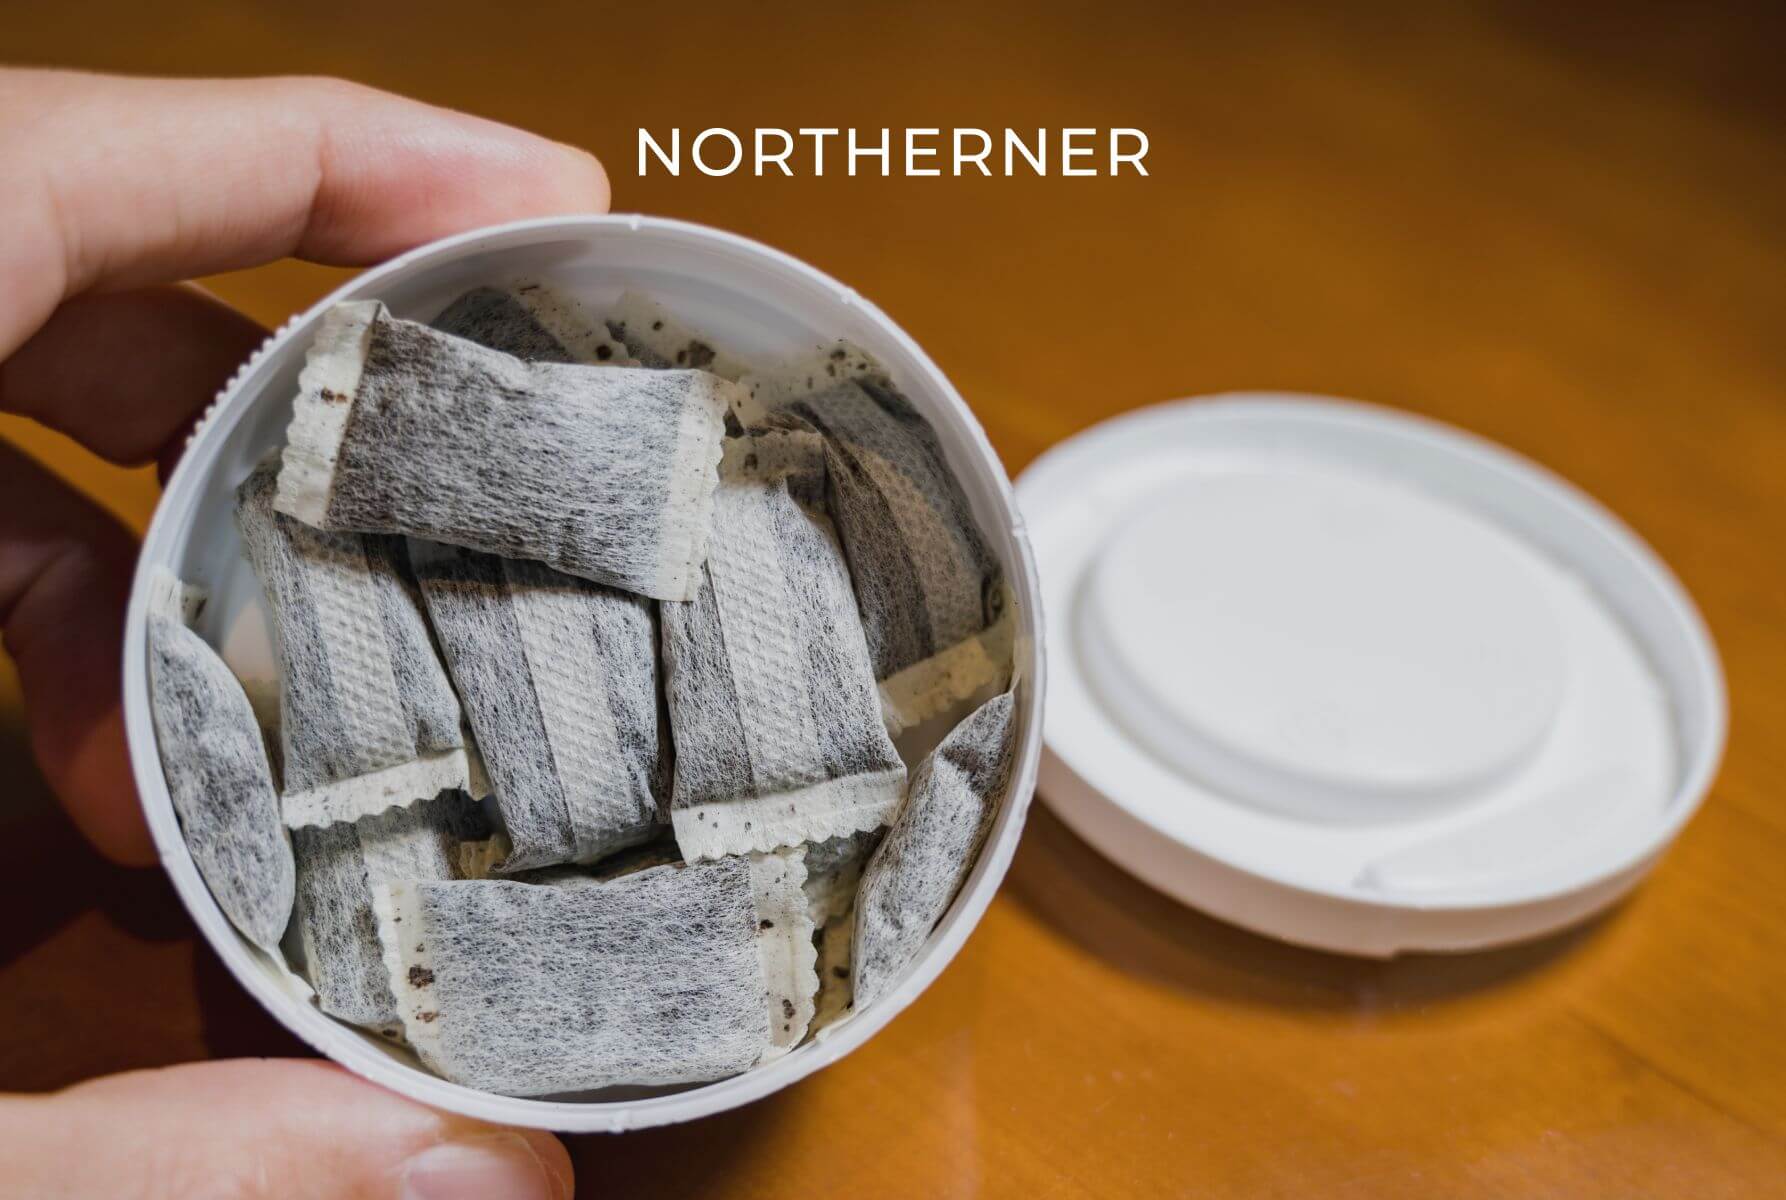
How to Make Your Own Snus
In addition to the snus itself, there are some tools that can enhance the snus experience.
Snus cans
If you want to make your own snus, you’ll need somewhere to store it. A snus can is essential and comes in different sizes, materials and price ranges.
Prismaster
Prismaster is a tool that helps you make portions from loose snus and place them under your lip. You put the Prismaster in the snus, give it a push until the snus is dense, put the Prismaster under your upper lip and push out the snus.
Icetool
Icetool manufactures portioning tools with innovative design. Icetool bakes the loose snus for you, just like Prismaster, so you don't have to get your hands dirty.
Filt Snuspapper
Icelandic Filt Snuspapper contains three meters of felt that you can make your own portion snus with. Simply place some loose snus on the paper, fold the edges and place the pouch under your lip. Perfect for those who like larger or smaller portions than traditional snus comes in.
Make your own snus
It's actually not as difficult to make your own snus as you might think. You can easily make it in your kitchen. This option is cheaper and gives you the freedom to customize your snus just the way you want it. You only need a few ingredients and tools to make it yourself.
What you need to make your own snus
The fastest and easiest way to make your own snus is to use a snus kit. Several snus manufacturers offer these. There are snus kits for both loose snus and portion snus. If you make a portion of snus, you just need to add water and flavor, then put it in the fridge for a few days. There are plenty of different flavors to choose from.
Ingredients:
- Raw tobacco (tobacco flour)
- Water
- Salt (preferably sea salt)
- Sodium carbonate or potassium carbonate
- Propylene glycol
- Glycerin
- Flavoring
Tools:
- Electric mixer
- Kitchen scale
- Food processor (mainly for loose snus)
- Pouches (only for portion snus made from scratch)
- Small hair straightener or flatiron (only for portion snus made from scratch)
How to make your own snus - Step by Step
1. Pasteurize
Pasteurization is the first thing you need to do to make snus from raw tobacco. The purpose is to remove unwanted bacteria and loosen up the tobacco so it can react with the sodium or potassium carbonate later. There are several different ways to do this but the essence of all snus manufacturing is to mix tobacco, water and salt, and then heat it in 176–194 Fahrenheit (80–90 Celsius) for at least 24 hours.
2. Add sodium
After the pasteurization process, it is time to add sodium carbonate or potassium carbonate to the hot tobacco. This is what makes tobacco into snus. How much sodium carbonate or potassium carbonate to add depends on what type of tobacco you use and how moist you want your snus to be—2.65–2.82 ounces (75–80 grams) is standard. Use a food processor to mix it for about 20 minutes. This process has a very distinct odor, which is why we recommend you go outside when doing this.
3. Add humectants
When the tobacco mixture has cooled down, it’s time to add humectants, preferably glycerin and propylene glycol. This is not an essential step but it improves shelf-life and prevents the snus from drying too quickly. About 2.4 ounces (0.7 deciliter) of each substance is sufficient.
4. Store
When your snus has been mixed properly, it’s time to store it. This is not an essential step, but is highly recommended as it gives your snus better flavor and texture. The snus should be stored in a cool and airy environment for at least three weeks.
5. Mix it
It’s important to mix the snus again before you add the flavor and seasoning. Use a food processor if you have one, or use an electric mixer. You should mix the snus until it gets warm. This step causes the sodium- or potassium carbonate to react properly—the ammonium smell disappears and the tobacco turns soft and sticky.
6. Flavor it
It’s finally time to get creative! Add small doses of flavor at a time, mix for a few minutes, taste it, and add some more. Continue doing this until you find that the snus has a good scent and taste. Remember that the temperature of the snus can change the taste, you may have to add more flavor after the snus has been refrigerated.
7. Store again
Store the snus in a cold environment for a few more weeks to get the best texture and flavor – and enjoy!


